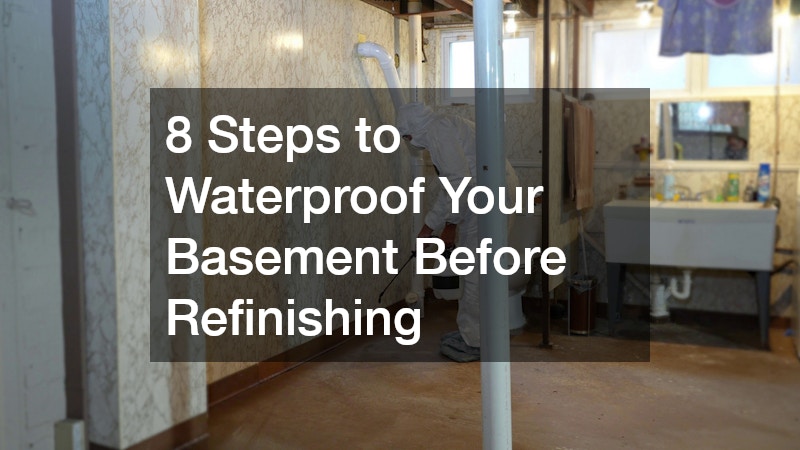
Waterproofing your basement might not be the most exciting part of a home renovation, but trust me—it’s one of the most important. A dry basement sets the foundation (literally!) for everything else you plan to do down there. Whether you’re dreaming of a cozy hangout, a home gym, or extra storage space, keeping water out first will save you headaches, mold, and unexpected repairs later.
Here’s a friendly, step-by-step guide to getting your basement waterproofed before you even think about refinishing it.
Why Waterproofing Comes First
Think of waterproofing as the “insurance policy” for your basement. No matter how gorgeous your future floors or walls will be, if water sneaks in, it can undo all your hard work. Even a minor leak can turn into a big problem over time, leading to warped floors, peeling paint, or worse—mold. Starting with waterproofing ensures you’re building on a solid, dry foundation.
Water in the basement isn’t just about rainy days. Groundwater, condensation, and even humidity can slowly create damp conditions that compromise your space. By addressing these issues upfront, you’re preventing problems before they even start. Plus, waterproofing first means you won’t have to rip out brand-new finishes or redo flooring down the line. It’s the smarter, easier, and ultimately cheaper way to approach your renovation.
Spotting Trouble Before It Starts

Before you grab any sealant or waterproofing paint, take some time to really inspect your basement. Walk around with a flashlight and a notebook. Look for obvious water stains, musty odors, and discoloration on walls or floors. Pay special attention to corners and areas near windows or the foundation. If you’re unsure about hidden mold, scheduling a mold inspection can give you peace of mind and help you catch problems before they get out of hand.
Some signs to watch out for include:
-
Efflorescence: White powdery residue on walls—usually a sign of water seepage.
-
Damp spots or discoloration: Often an early warning that moisture is creeping in.
-
Musty smells: Mold and mildew are already forming in hidden spots.
-
Rusty pipes or fixtures: Water exposure can accelerate corrosion.
It’s also smart to keep an eye out for leaks behind walls, under floors, or around plumbing. Performing regular leak detections ensures you’re addressing small problems before they turn into bigger ones. Noticing these warning signs early will help you target the areas that need the most attention before you start any major waterproofing work.
Clearing Out Your Basement Clutter
This might feel like a chore, but clearing out your basement is an essential step. You need an open, clean space to properly inspect walls, floors, and corners. Plus, clutter can hide water damage or mold growth. While you’re at it, you can sort through things to donate, toss, or store elsewhere.
A bonus of decluttering is that it gives you the chance to spot pests or critters that may have taken up residence. Old boxes, piles of paper, or furniture stacked against walls can be a perfect hideout for rodents and insects. As you clear out, check for droppings, nests, or signs of chewing, and deal with any infestations before they get worse. Once the clutter is gone, you’ll have a clean slate ready for waterproofing and refinishing.
Checking for Leaks and Cracks
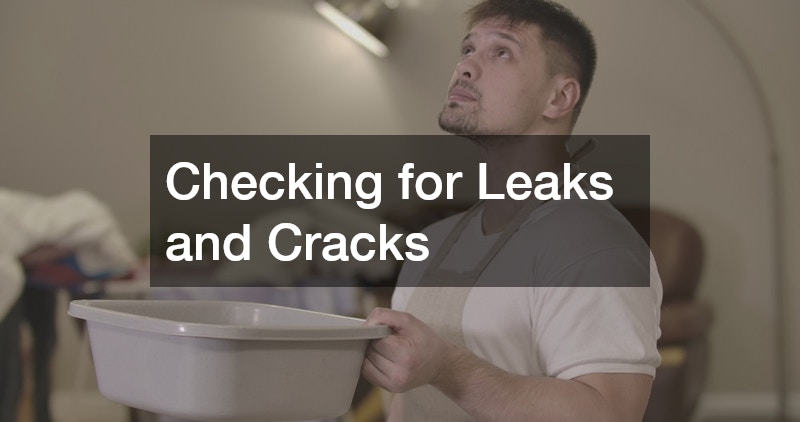
Once your basement is cleared, it’s time to take a closer look at the structure itself. Even small hairline cracks or hidden leaks can cause big problems over time, so a careful inspection now will save headaches later. Focus on the foundation walls, floors, and areas around windows, door frames, and plumbing entry points. Catching issues early gives you a chance to address them properly before you start waterproofing.
Spotting Cracks in Walls and Floors
Cracks come in all shapes and sizes, and even minor ones can let water sneak in. Walk along your basement walls and floors with a flashlight to catch uneven surfaces or damp streaks. Tap gently on walls to detect hollow spots, which can indicate water damage behind the surface.
Look for these signs:
-
Hairline or larger cracks along the foundation walls
-
Bubbling paint or peeling wallpaper
-
Damp or discolored patches near corners or joints
Inspecting Plumbing Areas
Water often enters around plumbing, so check all pipes and connections carefully. Sometimes leaks are obvious, like puddles or dripping, but other times the signs are subtle, like damp patches or rust forming around pipes. Catching these issues early and knowing when to tackle plumbing repairs helps make your waterproofing efforts much more effective.
Evaluating Structural Concerns
If cracks seem significant, or walls appear to be shifting or bowing, it’s important to address the root cause. Consulting foundation repair services can help make sure your basement is structurally safe before you proceed. Also, persistent moisture or sudden flooding may point to issues with the main supply, requiring water line repairs to prevent future leaks.
By breaking the inspection into these focused steps, you can catch problems early, make necessary repairs, and prepare your basement for a smooth waterproofing process.
Choosing the Right Waterproofing Method
There’s no one-size-fits-all when it comes to waterproofing. The best method depends on the type of water problem you’re dealing with, the construction of your basement, and how much time or effort you want to put in. Some solutions are simple DIY fixes, while others may require professional expertise. Some popular options include:
Interior Sealants and Paints
Interior sealants and waterproofing paints are great for minor moisture issues. They form a barrier on basement walls, keeping small amounts of water from seeping in.
Tips for using interior sealants:
-
Clean walls thoroughly before application to ensure proper adhesion.
-
Apply multiple coats if recommended by the product.
-
Focus on corners, joints, and areas near the floor where leaks are most likely.
This method is generally DIY-friendly, quick, and budget-conscious, making it a good first line of defense against moisture.
Exterior Waterproofing
Exterior waterproofing is more involved but highly effective for serious water problems. It usually requires excavation around your home to apply a waterproof barrier to the outside of the foundation.
What to expect with exterior waterproofing:
-
Excavation along the foundation perimeter.
-
Application of a waterproof membrane or coating.
-
Adding drainage layers, gravel, or protective coatings to redirect water away from the walls.
While more labor-intensive, exterior waterproofing offers long-term protection, especially for basements prone to heavy groundwater infiltration.
Drainage Systems
Sometimes water enters from below, so drainage solutions like French drains or sump pumps can be essential. These systems capture groundwater before it has a chance to reach your walls or floors.
Considerations for drainage systems:
-
French drains channel water away from your foundation using gravel-filled trenches and piping.
-
Sump pumps collect water in a basin and pump it outside or to a safe drainage area.
-
Regular maintenance is key to keeping pumps and drains working effectively.
Drainage systems are especially useful in areas with high water tables or frequent heavy rainfall.
Combination Approaches
For basements that face multiple sources of water, a combination of interior and exterior methods is often the most effective. Pairing sealants with exterior membranes or drainage systems creates layered protection.
Benefits of combination approaches:
-
Reduces the risk of water entry from multiple angles.
-
Offers long-term peace of mind for homeowners.
-
Can be customized based on your basement’s specific problem areas.
By considering your basement’s needs and consulting a waterproofing contractor, you can choose the method—or combination—that provides the most reliable protection and keeps your space dry for years to come.
Sealing the Walls Like a Pro
Once you’ve decided on your waterproofing method, it’s time to seal the walls. Start by cleaning them thoroughly—remove dust, dirt, or loose paint. Any imperfections can prevent a sealant from sticking properly.
When applying a sealant, remember:
-
Work from the bottom up to ensure full coverage.
-
Use multiple coats if the product recommends it; don’t skimp.
-
Pay extra attention to corners, joints, and areas near the floor, as these are common entry points for water.
Take your time with this step. A proper wall seal can keep water out for years, and it sets the stage for a smooth, dry finish when you move on to refinishing.
Don’t Forget the Floor
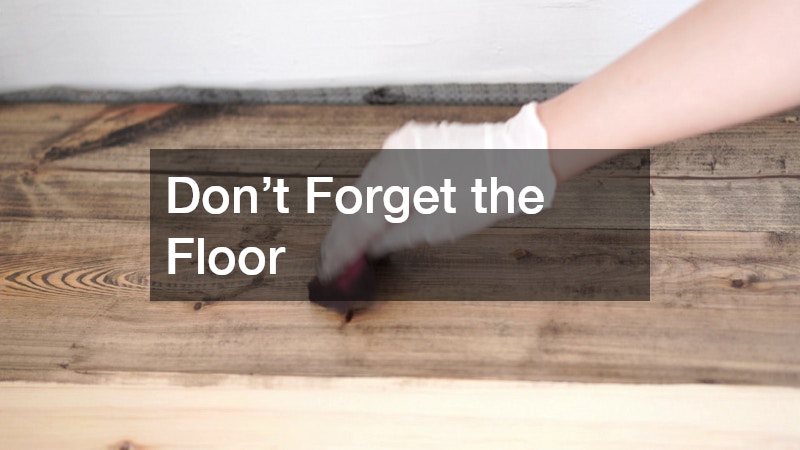
Water can creep in through the floor just as easily as the walls. Concrete floors, especially in older homes, may develop cracks or small gaps that let in moisture. Inspect the floor carefully and fill any cracks with an appropriate patching compound. Taking care of the floor early ensures your basement stays dry and ready for refinishing.
Consider these tips:
-
Slope your floor slightly toward a drainage point if possible, so water naturally flows away from the foundation.
-
Apply a waterproof coating or membrane over the floor for added protection. Hiring a floor coating company can make this step easier, especially if you want a smooth, long-lasting finish.
-
Check for damp spots near walls or corners where water may pool, and address them before moving forward.
A well-protected floor keeps the basement comfortable, dry, and ready for your finishing touches. It also makes maintaining the space much easier in the long run, giving you peace of mind that your basement will stay dry for years to come.
Dealing with Damp Corners and Stubborn Spots
Some areas of the basement can be trickier than others. Corners, behind support beams, and near windows often hold more moisture, making them prime spots for mold and mildew. These areas may require extra attention or a slightly different approach than the rest of the basement.
-
Use extra sealant on corners or joints to make sure they’re fully protected. Applying a thicker layer in these spots can prevent water from sneaking in.
-
Consider small drainage solutions for areas where water tends to collect. Even a minor redirect of water can keep these stubborn spots dry.
-
Keep an eye on ventilation to prevent humidity buildup, which can worsen dampness. Adding fans or a dehumidifier can make a big difference.
If you do notice mold forming despite your efforts, it’s best to call in professional mold removal services to handle it safely and thoroughly. Dealing with these stubborn areas now saves you from surprises later and ensures your basement stays dry and healthy throughout the year.
Letting Everything Dry Before You Move On
After sealing walls and floors, patience is key. Let everything dry completely before starting any refinishing work. Depending on the products used and the humidity in your basement, this drying period may take several days. Rushing it can trap moisture behind finishes, leading to peeling paint, warped flooring, or even mold growth.
Using fans or a dehumidifier can help speed up the process, but don’t skip this crucial step. A fully dry basement provides the perfect foundation for whatever renovations you have planned. If you’re working with professionals, experienced basement refinishing contractors can help ensure the space is completely dry and ready before they start installing floors, walls, or cabinetry. This careful approach helps prevent problems down the line and sets the stage for a flawless finish.
Tips to Keep Your Basement Dry Long-Term

Waterproofing your basement isn’t just a one-time job; keeping it dry takes ongoing attention and care. A few simple habits can go a long way in preventing water problems and maintaining a comfortable, usable space.
-
Check gutters and downspouts regularly. Make sure water is being directed away from your foundation. If you don’t already have proper systems in place, it may be worth having a professional install gutters to manage rainwater effectively.
-
Maintain proper grading around your home so that water naturally flows away from the basement rather than pooling near the foundation.
-
Keep the basement ventilated to prevent humidity buildup, which can encourage mold and mildew growth. Using fans or a dehumidifier can make a noticeable difference.
-
Monitor plumbing for leaks or drips that could cause damp spots. Even small leaks can create long-term moisture issues if left unchecked.
-
Inspect periodically for new cracks, stains, or other signs of moisture so you can address problems early.
A little attention over time goes a long way. By combining proper waterproofing with smart maintenance habits, your basement will stay dry, comfortable, and ready for whatever you have planned—whether it’s a cozy hangout, extra storage space, or a full-blown renovation.
Closing Thoughts
Waterproofing your basement might not be the flashiest part of a home renovation, but it’s hands-down one of the smartest moves you can make. By spotting trouble early, clearing clutter, checking for leaks, and properly sealing walls and floors, you’re setting yourself up for a dry, comfortable, and long-lasting space.
Remember, patience and attention to detail pay off. Take the time to let everything dry, address stubborn spots, and maintain your basement over time. A little effort now saves a lot of headaches later—and it means your refinished basement will be a place you actually want to spend time in. Dry, safe, and ready for whatever you dream up next!